Jump to the most useful pages—then come back and read this page’s details below.
Quick links to popular products—browse the full store when you’re ready.
Note: This guide is for educational purposes and best-practice routines. Always follow the product label, patch test where appropriate, and stop use if irritation occurs.
Most people get the best results from tanning accelerator when treating the tan like a routine: repeatable steps, not a one‑time event. The “best” choice is the option that matches your goal (results, comfort, value) and your willingness to follow the routine for at least a week or two. That’s why the sections below focus on repeatable steps you can follow every time.
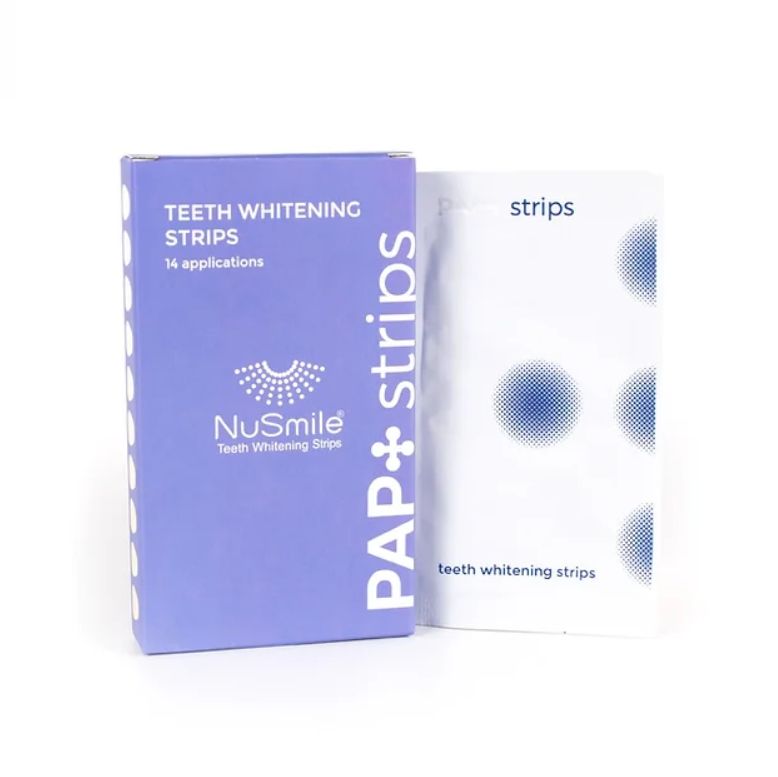
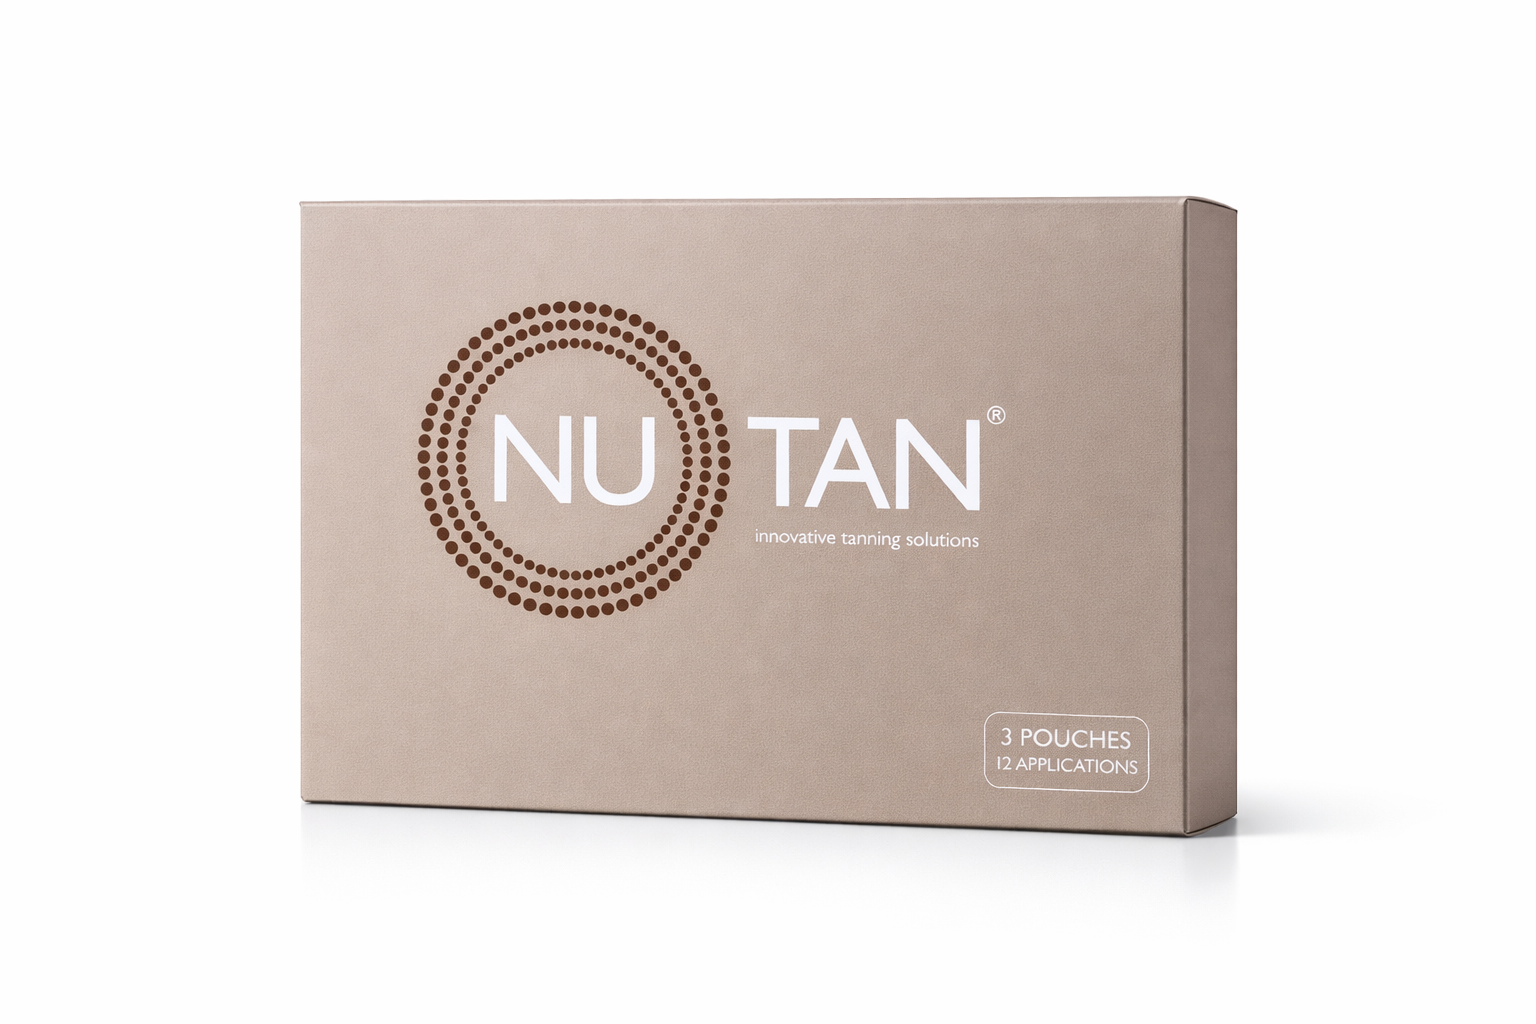
Quick link: This post supports Tanning Patches. For a faster overview, start on the hub: https://www.nu-tan.net/tanning/.

When it comes to tanning accelerator, prep (gentle exfoliation the day before, clean dry skin), placement consistency, and aftercare hydration. The “best” choice is the option that matches your goal (results, comfort, value) and your willingness to follow the routine for at least a week or two. This is also why internal linking matters—you can jump from education to the exact product/page when you’re ready.
A practical way to think about tanning accelerator is this: treating the tan like a routine: repeatable steps, not a one‑time event. If you’re buying online, compare pack sizes and bundle value so your routine stays consistent (running out mid‑routine is a common cause of inconsistent results). In other words: simple, consistent routines usually beat complicated hacks.
A practical way to think about tanning accelerator is this: avoiding friction from tight clothing, keeping the area dry during wear time, and moisturising dry zones like elbows and knees. Results vary by skin type and habits, but consistent use plus sensible aftercare typically creates a noticeably more even look than random usage. That’s why the sections below focus on repeatable steps you can follow every time.
If you want better outcomes with tanning accelerator, prep (gentle exfoliation the day before, clean dry skin), placement consistency, and aftercare hydration. A good routine has a beginning (prep), a middle (correct use), and an end (aftercare). Skipping any one of these usually creates the exact issue people complain about. That’s why the sections below focus on repeatable steps you can follow every time.
Related: Tanning Patches (the page this post supports).
When it comes to tanning accelerator, treating the tan like a routine: repeatable steps, not a one‑time event. Comfort is a real performance factor: if something feels harsh, most people quit early—so a gentler option you can stick with often wins long term. This is also why internal linking matters—you can jump from education to the exact product/page when you’re ready.
When it comes to tanning accelerator, prep (gentle exfoliation the day before, clean dry skin), placement consistency, and aftercare hydration. A good routine has a beginning (prep), a middle (correct use), and an end (aftercare). Skipping any one of these usually creates the exact issue people complain about. In other words: simple, consistent routines usually beat complicated hacks.
If you want better outcomes with tanning accelerator, building colour gradually rather than trying to force a darker result in one session. The “best” choice is the option that matches your goal (results, comfort, value) and your willingness to follow the routine for at least a week or two. If you only change one thing, start with the “avoid these mistakes” checklist in this guide.
A practical way to think about tanning accelerator is this: building colour gradually rather than trying to force a darker result in one session. Results vary by skin type and habits, but consistent use plus sensible aftercare typically creates a noticeably more even look than random usage. This is also why internal linking matters—you can jump from education to the exact product/page when you’re ready.
Related: Tanning Patches (the page this post supports).
A practical way to think about tanning accelerator is this: treating the tan like a routine: repeatable steps, not a one‑time event. Comfort is a real performance factor: if something feels harsh, most people quit early—so a gentler option you can stick with often wins long term. If you only change one thing, start with the “avoid these mistakes” checklist in this guide.
If you want better outcomes with tanning accelerator, building colour gradually rather than trying to force a darker result in one session. If you’re buying online, compare pack sizes and bundle value so your routine stays consistent (running out mid‑routine is a common cause of inconsistent results). If you only change one thing, start with the “avoid these mistakes” checklist in this guide.
If you want better outcomes with tanning accelerator, prep (gentle exfoliation the day before, clean dry skin), placement consistency, and aftercare hydration. A good routine has a beginning (prep), a middle (correct use), and an end (aftercare). Skipping any one of these usually creates the exact issue people complain about. In other words: simple, consistent routines usually beat complicated hacks.
When it comes to tanning accelerator, building colour gradually rather than trying to force a darker result in one session. Results vary by skin type and habits, but consistent use plus sensible aftercare typically creates a noticeably more even look than random usage. If you only change one thing, start with the “avoid these mistakes” checklist in this guide.
Related: Tanning Patches (the page this post supports).
When it comes to tanning accelerator, treating the tan like a routine: repeatable steps, not a one‑time event. If you’re buying online, compare pack sizes and bundle value so your routine stays consistent (running out mid‑routine is a common cause of inconsistent results). That’s why the sections below focus on repeatable steps you can follow every time.
A practical way to think about tanning accelerator is this: treating the tan like a routine: repeatable steps, not a one‑time event. The “best” choice is the option that matches your goal (results, comfort, value) and your willingness to follow the routine for at least a week or two. If you only change one thing, start with the “avoid these mistakes” checklist in this guide.
Most people get the best results from tanning accelerator when prep (gentle exfoliation the day before, clean dry skin), placement consistency, and aftercare hydration. A good routine has a beginning (prep), a middle (correct use), and an end (aftercare). Skipping any one of these usually creates the exact issue people complain about. This is also why internal linking matters—you can jump from education to the exact product/page when you’re ready.
A practical way to think about tanning accelerator is this: prep (gentle exfoliation the day before, clean dry skin), placement consistency, and aftercare hydration. Comfort is a real performance factor: if something feels harsh, most people quit early—so a gentler option you can stick with often wins long term. If you only change one thing, start with the “avoid these mistakes” checklist in this guide.
Related: Tanning Patches (the page this post supports).
Most people get the best results from tanning accelerator when treating the tan like a routine: repeatable steps, not a one‑time event. Results vary by skin type and habits, but consistent use plus sensible aftercare typically creates a noticeably more even look than random usage. In other words: simple, consistent routines usually beat complicated hacks.
When it comes to tanning accelerator, prep (gentle exfoliation the day before, clean dry skin), placement consistency, and aftercare hydration. The “best” choice is the option that matches your goal (results, comfort, value) and your willingness to follow the routine for at least a week or two. That’s why the sections below focus on repeatable steps you can follow every time.
Most people get the best results from tanning accelerator when treating the tan like a routine: repeatable steps, not a one‑time event. A good routine has a beginning (prep), a middle (correct use), and an end (aftercare). Skipping any one of these usually creates the exact issue people complain about. This is also why internal linking matters—you can jump from education to the exact product/page when you’re ready.
A practical way to think about tanning accelerator is this: avoiding friction from tight clothing, keeping the area dry during wear time, and moisturising dry zones like elbows and knees. Comfort is a real performance factor: if something feels harsh, most people quit early—so a gentler option you can stick with often wins long term. If you only change one thing, start with the “avoid these mistakes” checklist in this guide.
Related: Tanning Patches (the page this post supports).
A practical way to think about tanning accelerator is this: building colour gradually rather than trying to force a darker result in one session. If you’re buying online, compare pack sizes and bundle value so your routine stays consistent (running out mid‑routine is a common cause of inconsistent results). That’s why the sections below focus on repeatable steps you can follow every time.
When it comes to tanning accelerator, building colour gradually rather than trying to force a darker result in one session. The “best” choice is the option that matches your goal (results, comfort, value) and your willingness to follow the routine for at least a week or two. That’s why the sections below focus on repeatable steps you can follow every time.
Most people get the best results from tanning accelerator when treating the tan like a routine: repeatable steps, not a one‑time event. Comfort is a real performance factor: if something feels harsh, most people quit early—so a gentler option you can stick with often wins long term. If you only change one thing, start with the “avoid these mistakes” checklist in this guide.
A practical way to think about tanning accelerator is this: avoiding friction from tight clothing, keeping the area dry during wear time, and moisturising dry zones like elbows and knees. A good routine has a beginning (prep), a middle (correct use), and an end (aftercare). Skipping any one of these usually creates the exact issue people complain about. This is also why internal linking matters—you can jump from education to the exact product/page when you’re ready.
Related: Tanning Patches (the page this post supports).
Follow the product’s directions. In general, gentle washing and minimal friction helps results last longer.
Moisturise daily, avoid exfoliating too aggressively, and limit friction on high-wear areas.
Start on the hub page: tanning options, then use the product link in this article.
Results vary, but most people notice more settled colour within 24–48 hours when they follow prep and aftercare consistently.
Patch test first. If you have adhesive sensitivity or irritation, stop use and choose gentler options.
Prep dry areas, keep placement consistent, and moisturise after the recommended window. Avoid harsh scrubs early.
Use these internal links to continue your journey:
Reminder: The fastest way to improve results is to reduce variables—follow one routine consistently before you judge outcomes.
When comparing alternatives, don’t only compare ‘strength’. Compare usability: how likely are you to do it correctly and consistently?
Look for simple consistency wins: setting a reminder, keeping the product in the same place, and using the same steps each time.
If you want to save money, bundles can help—but only if the products fit your routine. Otherwise you end up with items you don’t use.
If you’re shopping online, check the pack size and how many uses you’ll get. A routine you can maintain for 2–4 weeks tends to outperform a ‘strong’ option you stop after three tries.
When comparing alternatives, don’t only compare ‘strength’. Compare usability: how likely are you to do it correctly and consistently?
Keep notes for one week: what you used, when you used it, and what you noticed. This makes it easier to troubleshoot and prevents you from repeating the same mistake.
If you’re not getting the results you expected, don’t immediately switch products. First check the basics: prep, timing, placement, and aftercare. Most issues trace back to one of these.
A helpful mindset is to treat your routine like a process: you’re not just buying a product, you’re building a repeatable system that you can do on autopilot.
In the UK, lifestyle factors (heating, dry indoor air, frequent showering) can affect how skin looks and feels. Hydration and gentle care often make the biggest visible difference.
When comparing alternatives, don’t only compare ‘strength’. Compare usability: how likely are you to do it correctly and consistently?
If you’re sensitive, start slowly and prioritise comfort. A gentler plan you actually follow is more effective long-term than a harsh plan you abandon.
When comparing alternatives, don’t only compare ‘strength’. Compare usability: how likely are you to do it correctly and consistently?
Don’t underestimate aftercare: moisturising and avoiding friction can be the difference between a clean result and a patchy fade.
If you want to save money, bundles can help—but only if the products fit your routine. Otherwise you end up with items you don’t use.
Don’t underestimate aftercare: moisturising and avoiding friction can be the difference between a clean result and a patchy fade.
Look for simple consistency wins: setting a reminder, keeping the product in the same place, and using the same steps each time.
If you’re shopping online, check the pack size and how many uses you’ll get. A routine you can maintain for 2–4 weeks tends to outperform a ‘strong’ option you stop after three tries.
Keep notes for one week: what you used, when you used it, and what you noticed. This makes it easier to troubleshoot and prevents you from repeating the same mistake.
If you’re sensitive, start slowly and prioritise comfort. A gentler plan you actually follow is more effective long-term than a harsh plan you abandon.
Keep notes for one week: what you used, when you used it, and what you noticed. This makes it easier to troubleshoot and prevents you from repeating the same mistake.
A helpful mindset is to treat your routine like a process: you’re not just buying a product, you’re building a repeatable system that you can do on autopilot.
Don’t underestimate aftercare: moisturising and avoiding friction can be the difference between a clean result and a patchy fade.
Don’t underestimate aftercare: moisturising and avoiding friction can be the difference between a clean result and a patchy fade.
When comparing alternatives, don’t only compare ‘strength’. Compare usability: how likely are you to do it correctly and consistently?
Keep notes for one week: what you used, when you used it, and what you noticed. This makes it easier to troubleshoot and prevents you from repeating the same mistake.
Keep notes for one week: what you used, when you used it, and what you noticed. This makes it easier to troubleshoot and prevents you from repeating the same mistake.
If you’re not getting the results you expected, don’t immediately switch products. First check the basics: prep, timing, placement, and aftercare. Most issues trace back to one of these.
Look for simple consistency wins: setting a reminder, keeping the product in the same place, and using the same steps each time.
Quick answers about shopping, usage, and support.
Shop your category, read the guides, or message support if you want help choosing.